.

Showing posts with label sewing for baby. Show all posts

The Norah Dress Pattern Tour


When Hayley from Welcome to the Mouse House asked me to participate in her Norah Dress pattern tour, I was powerless to resist.  That collar!  I have a real weakness for patterns with a vintage vibe, and this one really hit the spot.  Plus, I love any pattern with a classic, simple shape.  This is a dress that will never go out of style.


Of course, the collar is the real show-stopper.  A cinched peter pan with ties?  I die.  When I was cutting the collar pattern piece, the scraps seemed like they would be just the perfect size and shape for a few pockets.  They are a bit tight up top, but Ruby can still get her hands inside, and the first thing she did was start loading them with treasures.  Plus, the pockets were a way for me to add more pink (at her request).

Fabrics used:  main print - Emily Herrick Technicolor in Kryptonite, collar - Essex Yarn Dyed Linen in black, lining - Kona Cotton (not sure of the color).


Ruby approved.


Until our little photo bomber came along.  Oh sure, it was funny at first, but then baby sister tried to steal too much of Ruby's thunder.  "These pictures are just of ME!" she said.


It wouldn't be a photo shoot without a few tears, right?


No tears were shed about the Norah Dress though.  It was a real winner.  I can't wait to sew up more versions for my girls (it works for knits, too!) ... let's just say I plan to copy Simple Simon's perfect yellow Norah tunic pretty much point by point.


Thanks, Hayley, for including me in your first pattern tour!  I'm a fan.  

Make a stop at all the blogs on the pattern tour, so you don't miss any of the wonderful versions of this pattern!


homemade cloth baby shoes

I have deadlines to meet ... a secret santa gift to be ready by Saturday, and ornament exchange that I need to package and mail off. So, why am I sewing baby shoes?

I printed out this pattern months ago from Stardust Shoes, but never tried it. I came across it again while organizing my craft supplies over the weekend, and it is all I've been able to think about!


This is attempt #2 - the first try turned out ok, put looked plain without the ribbon and had more frayed edges than I cared for. So I just made a few small changes to the pattern by finishing off a few extra seams to clean it up a bit. Also, instead of using fleece for the sole, I used the same suede fabric and floral lining with warm n' natural batting in between.

It is a quick, easy and extremely satisfying project - I highly recommend it! You can find the pattern here.

I foresee this project becoming an addiction!

Ruffle Fabric Giveaway (CLOSED)

If you are a fan of craft blogs, I'm guessing you have noticed that ruffles are kind of big right now.  I love them.  So maybe you've seen Ruffle Fabric cropping up here and there, or maybe this is your introduction.  Either way, feast your eyes:


Ooooh, yeah.  Ruffles as far as the eye can see, without all the work!

I had the pleasure of trying out the new Mini Ruffle fabric and I have to say ... it is delightful.  It is making my wish of covering every inch of my baby in ruffles come true.

First, I made a very simple baby hat.

As if the ruffles weren't cute enough on their own, I attached a little hair clip ... just clipped it to one of the ruffles ... for an instant, but changeable update.

Of course I couldn't resist making some leggings:
(pattern by Lil' Blue Boo)

Ruffle Fabric is surprisingly easy to work with.  It is nice and stretchy, sews easily with a ballpoint needle, and doesn't fray on the cut ends.  Hooray for not having to finish your edges!  That's my kind of fabric.


Do you think my daughter will ever forgive me for plastering her butt on the internet?  It is a very cute butt.

Need more ruffles in your Christmas decor?


I also made this fun Christmas stocking with the ruffle fabric and some felted wool from an old sweater.  The cuff folds over, so you can clip any decoration onto it.  Wouldn't this be perfect for the Candy Cane style fabric and a red sweater for the lining/cuff?

Stockings are super easy sewing ... like 20 minutes, start to finish.  Is this something you'd be interested in seeing a tutorial for, or is that too basic?

This giveaway is now closed.  Thanks for entering!

On to the giveaway ...


TWO lucky winners will receive one yard of ruffle fabric and one yard of elastic of their choice.  Fun!  So get those creative wheels turning, because I'd love to see what you'd make with this fabric.


If you would love to win, visit the Ruffle Fabric website and leave a comment on this post by November 26th telling me your favorite color (or print) ruffle fabric.


The winners will be randomly selected and announce on November 29th.  This giveaway is available to U.S. readers only.


You know the drill:


  1. There is only one entry per person.  If you accidentally enter more than once, please delete your duplicate comment(s).  You may have to scroll to the end of the comment pages to view yours.
  2. Make sure I have a way to contact you!  Either your profile must link back to a public blog, or you must leave me an email address.  Anonymous comments (with no contact information) will be deleted.

happy birthday, cora!

Baby Cora had her first birthday on Sunday!  It's hard to believe a year has already passed since she was born ... honestly, it's been such a blur, I'm just glad we've all survived.


We've been keeping birthdays really simple this year with celebratory family dinners and whatever handmade gifts I can squeeze in.   Since Cora's birthday was on a Sunday and we'd spend half the day in church, she got a new dress and a necklace to match.  That might seem like a strange gift for a one year old, but this kid loves to accessorize.   I painted wooden beads from the craft store to match the polka dots on my fabric, added some glitter and sealed them with polyurethane varnish before stringing them on a skinny shoelace.  She wore those beads all day long (and everyday since).

I made her dress by altering the 12-18 month Flashback Skinny Tee pattern.  I shortened the bodice to an empire waist, added puff sleeves (gathered with elastic thread), a bow "belt" sewn in at the waist, and short skirt.  I didn't want any top stitching on the belt, so I cut a 2 inch strip of jersey knit, folded over and pressed about 1/2 inch, then zig zag stitched across the waist just below the fold line on the inside of the belt, similar to how you would open up and attach bias tape (attach the belt to the front and back bodice pieces before sewing them together). Hope that makes sense!  The bottom edge of the belt was left raw, then I attached the skirt to enclose that edge.  The little bow was hand sewn to the dress.

Since Cora is still crawling, the skirt is fairly short, almost tunic length.  My two skirt pieces were cut to measure 11x20 inches.  The cute knit is from the Doodles collection at JoAnn's - this collection is full of some really cute knit prints.

And since a short dress requires something underneath, I made Dana's Perfect Diaper Cover with ruffles.  I love a nice, ruffled baby bum.

Per family tradition, Cora got her first year photo banner, with pictures from each month (plus one or two extras slipped in when I just couldn't decide between pictures).  I've done these for all the kids on their first and second birthday - it is amazing how much they change month to month in that time!


Earlier in the fall I made this happy birthday banner (a la MADE or CINO) using my flannel and felt scraps.  It's been really handy to have in the party box and will get lots of use.


Cora's cake was super simple - just a single layer heart shaped gluten-free cake from a box.  I never have mastered gluten-free baking, but I can handle a boxed mix.  :)

We usually have our family dinners at my in-law's house, and my mother-in-law mentioned that this little piggy bib has seen a LOT of birthdays.  Sure enough, that's my husband on the right wearing the same pig bib on his 2nd birthday (even sitting int he same high chair!), and it was made long before he wore it.  I love that.
I love this little post-cake satisfied face.  :)


So happy birthday to Cora, our little pickle pie.  She is developing a feisty little temperament and has an opinion to share, and we love her.


bringing home baby - she'll probably need something to wear

Unbelievably, the week has already arrived when we get to welcome our new baby - we'll meet her on Friday!  Some of my friends started asking about her "coming home" outfit, and I realized I didn't have anything planned.  Come to think of it, I have never planned a special coming home from the hospital outfit for my own kids.  I'm not super sentimental about that kind of stuff.  But this baby needed something, poor third child that she is.


First, I made her a really simple knot-top cap.  It is modeled after my favorite store-bought newborn cap that I bought for Oscar years ago.  I sketched out a simple template for you, which you can print out HERE.  You'll need to cut two pieces of stretchy knit fabric from the template, and then another rectangular piece for the border at the bottom.  I cut my border piece to 3 inches tall, and double the width of the bottom of the template piece.  I'm not going to go into detail how to piece it together, but Make It and Love It has a really great baby hat tutorial that should give you a pretty good idea.  Keep in mind that her hat brim folds up, but mine does not.

I also have basic instructions for a really easy baby hat from a t-shirt sleeve from my early sewing days - you can find it HERE.


Besides long sleepers, my favorite newborn clothes are the basic kimono-style snap shirts you can buy in packs.  I even did a tutorial a few years ago about how to dress one up with ric-rac and some pretty buttons (find it HERE). For this shirt, I simply added a lace trim around the shirt's opening - really easy, really fast.  This is actually the exact shirt that Oscar wore home from the hospital, and possibly Ruby, too (I don't actually remember what I put her in).


So there you have it, possibly the easiest coming home from the hospital outfit, ever.  Add a pair of leggings and some cute socks, and you're all set.

fabric travel high chair

There are a lot of sewing/craft blogs I really love, and near the top of that list is this mama makes stuff.  Recently Carrie posted a portable fabric high chair - so awesome!  I thought it would be just perfect for an upcoming trip Oscar and I are taking to NYC for a week of friends and NEW MOON!  wooo!  Yes, I am a Twi-mom, so sue me.  NEW MOON!  :)

Back to the fabric high chair.  I wanted one.  I needed one!  So far, Carrie has not posted the dimensions.   But, it looked easy enough.  3 rectangles of fabric and some velcro ... no biggie.  I estimated the dimensions and sewed one up.  Ta-da!


Like I said, it is three rectangles.  I cut my waist strap to be 6" x 43", but if I were to do it again, I think I would make it about 6 inches shorter (6" x 37").  It doesn't need to be quite so long.

The connector piece is 6" x 4".  The seat piece is 20" x 10".  There is a thin layer of batting between each piece, and a long strip of velcro on either end of the waist strap.
 
Piece of cake right?  I'm curious to see how my measurements match up to Carrie's.  Hopefully someday she'll post instructions so I can make this perfect!

one gigantic Fall 2013 KCW post

Hey ya'll.  I'm back again with a KCW report, and then I'll make myself scarce again for a while.

Behold, my Kids Clothes Week spoils:


If you aren't familiar with Kids Clothes Week, it is a challenge to commit to sewing for your kids for at least one hour a day for a week.  You aren't technically supposed to turn yourself into a one-woman sweatshop like I sometimes do.  I just get caught up in the sewing fever and can't help myself!  :)

Obviously, I spent a lot more than one hour a day sewing.  My house is a wreck and I think I averaged about 4 hours of sleep a night.  But my kids have some great wardrobe basics for fall and "winter" (we don't really do winter here in Santa Barbara), and hopefully they will be warm enough for our holiday travelling.


One way I was able to make so many pieces was to make multiples using the same pattern.  I especially love the Recess Raglan Tee for boys (I think Oscar has like 6 of them), but it is really cute for girls, too.  Hooray for unisex patterns!

If you follow me on instagram (homemadebyjill), you saw that I carved a fox and deer stamp to make my own printed fabric. I used animal images from the Silhouette online store, and a Speedball carving block.  I love how the fox shirt came out, and can't wait to print some deer fabric.  The shorts in the photo below were made with MADE's Kid Shorts pattern, earlier in the fall.


I have been using the Lil Leggings pattern by Lil Blue Boo for years, and I like the no-fuss knit waistband.  I usually add a bunch of length to the pattern because I like a full length legging, instead of capri.


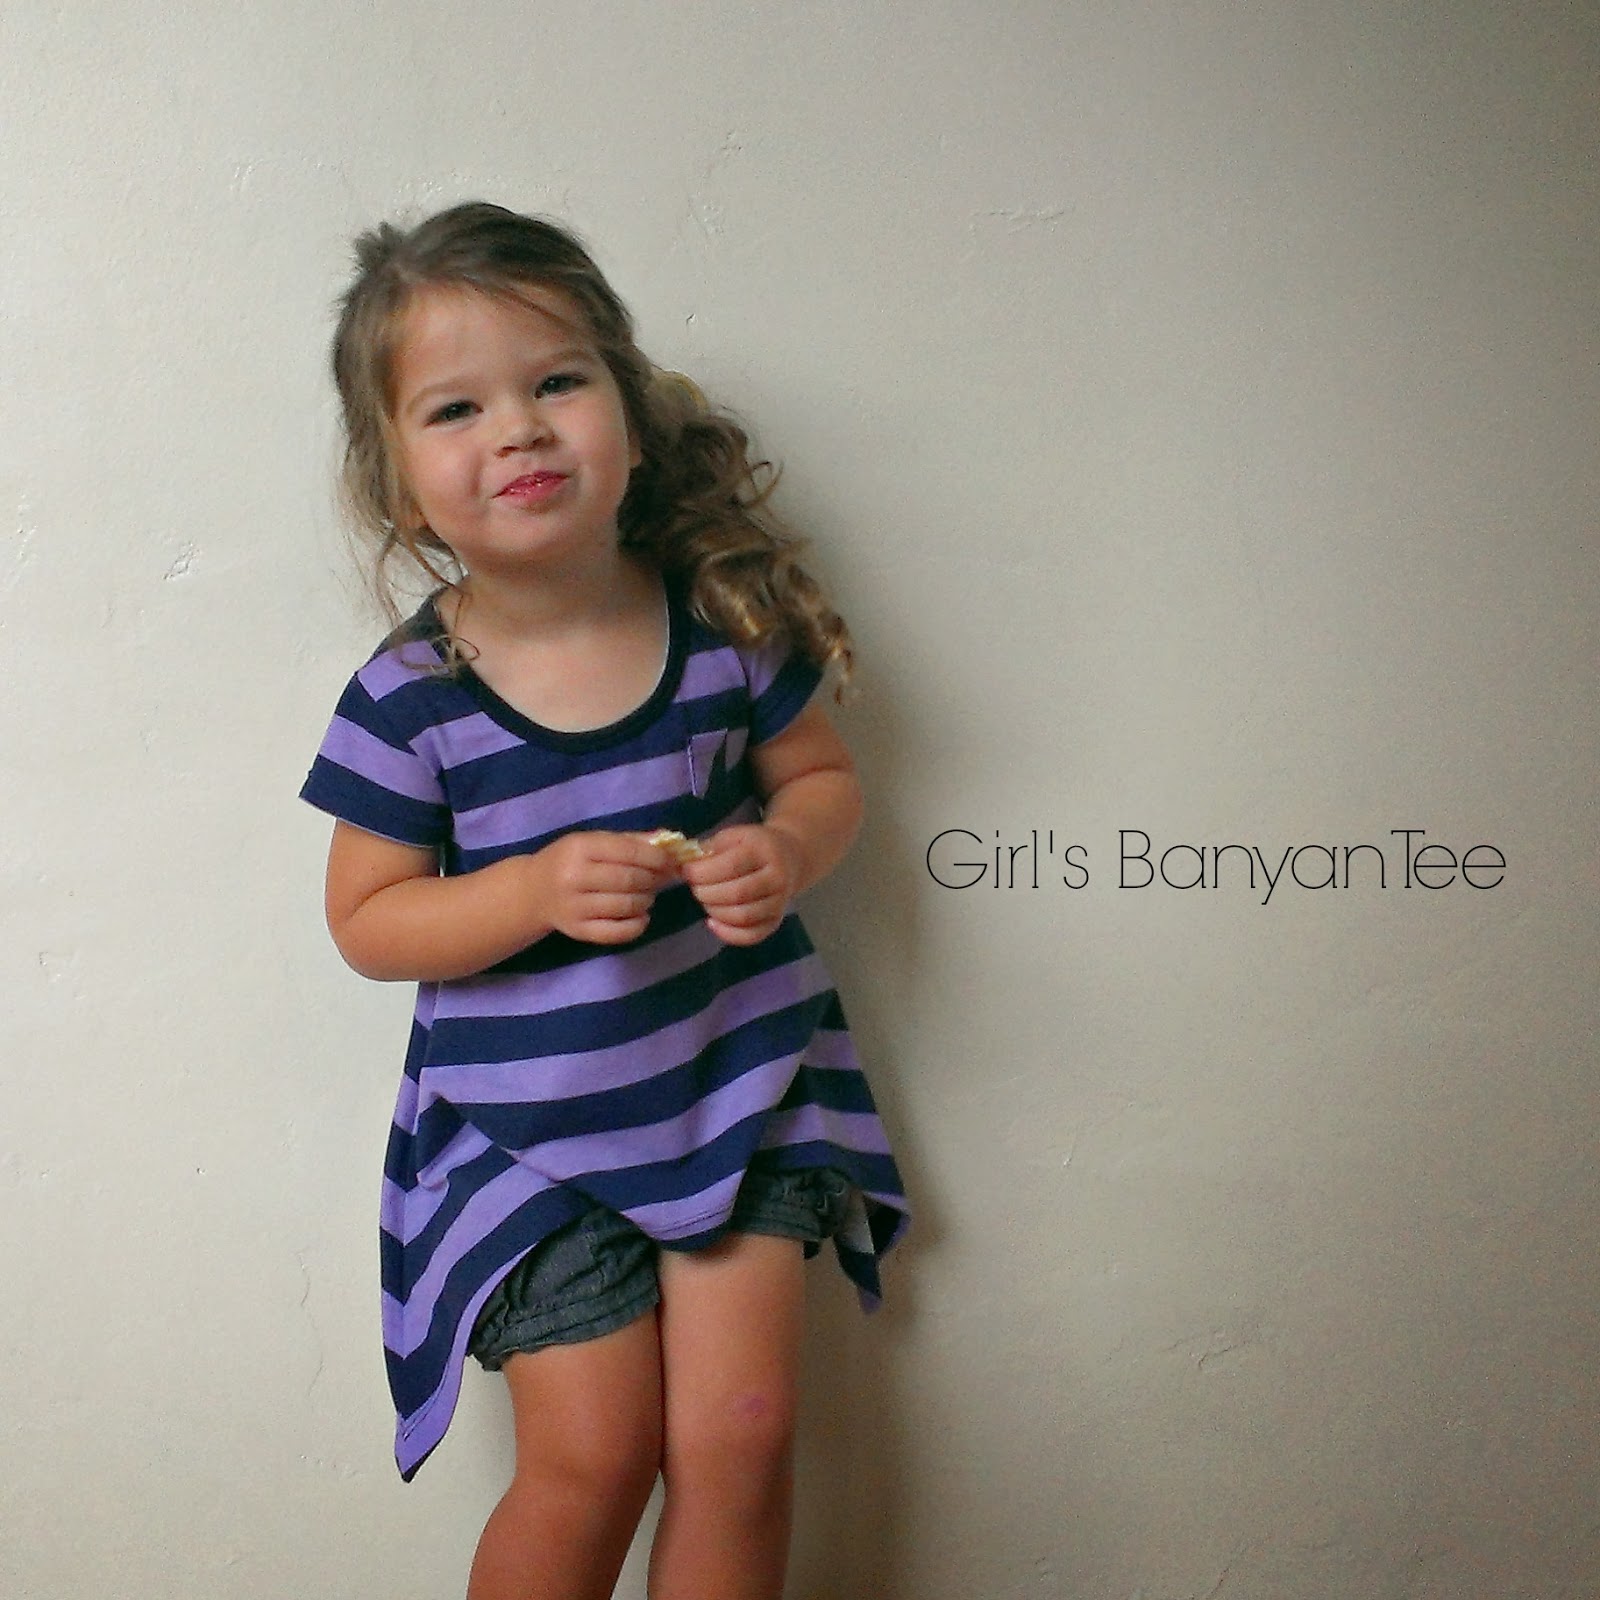
Figgy's Banyan Tee is one of my favorite patterns for boys and girls.  The handkerchief hem is ridiculously cute on the girls pattern, and I just like the overall fit for both.  I altered the pattern a bit to make the cat sweatshirt, and used gold pleather for the details.


You couldn't read about KCW last week without hearing about the Bimaa Sweater, so here is my version of the cowl view.  Pretty sure I sewed that cowl on upside down like a moron, but it still looks cute.  Must get it right the next time (sleeping might help).


I'm kind of dying over this little jacket, The Coco Topcoat pattern from the CaliFaye Collection.  It isn't actually done ... need to finish the sleeves, topstitch, and add buttons ... but it is too cute not to share.  This is for Cora, and she looks so delicious in yellow with her blonde ringlets, I just might die when she puts it on.


Ok, the jeans.  JEANS!  Sorry, still feeling ridiculously proud of these.  I used the Skinny Jean pattern from Peekaboo Pattern Shop, and I can't say enough good things about this pattern.  I was feeling all intimidated, but it was really easy and came together looking so pro!  I like that the fit is a slim jean without being super skinny jeggings, which works really well on Ruby.  I got the stretch denim from the Michael Levine Loft in LA for like two bucks, so these jeans are a bargain, too.  This is a pattern I will be repeating (already have a pair cut for Oscar in khaki).


Made by Rae's Flashback Skinny Tee was thrown into heavy rotation.  I used it for the girl's mermaid Halloween costumes, made a three quarter sleeve top for each of the girls, and used it to draft twinners knit dresses for them as well.  Late into the week, Ruby pulled out this funky floral corduroy that she picked out at JoAnn's, so they became a pair of Parsley crazy pants.


Mermaids!  My friend Sonja and I picked up the sequin fabric on a LA garment district run early in the year and have been talking up the mermaid Halloween costume to our girls ever since.  We made two pink and two blue mermaids this week, and if I can keep it together for another two days, they will hopefully get some mermaid headpieces for the big night.  Because how cute would it be if Cora had a little octopus perched on her headband?  Really cute, I tell you.

The skirt is a really simple tube skirt with a knit waistband, knit lining, and chiffon ruffle.  Nothing fancy about the construction, but those sequins will take you a long way.


In other news, these girlies are kind of precious in twin outfits.  Hasn't happened since Easter, 2012.


Phew, still with me?  Obviously, Ruby was the big winner this week, but there was a little bit for everyone. Oscar was the recient of a lot of un-blogged back-to-school sewing in September, and Cora has more hand-me-downs than a girl could ever wear, so they are all set.


I'm really grateful for KCW because it lights a fire under my sewing machine and makes me plow through my unhealthy fabric stash a bit (which is still overflowing, despite taking a bit of a hit last week).  Fabrics for these projects came from Girl Charlee, Fabric.com, upcycled clothes, and random stash.

Hope you all have a Happy Halloween!  xoxo